Pack your bags! Your trip is booked.

Expedia

These very exciting words flashed up on screen after confirming purchase of my flight to Vancouver! The first leg of my journey is booked and I can’t help but feel sickly nervous and excited. I know it’s cliche but it really is starting to feel ‘real’! I’m actually still at work so I’m internalising my excitement but I’m itching to celebrate this milestone. I depart on April 1 at 8am from Melbourne and arrive in Vancouver at 7:30am the same day, with only one quick stop in Sydney. No complicated layover in the US… phew.

Speaking of the US I also have my visa interview booked on Tuesday having completed the online form and paying the $160 fee. I’m debating what evidence I should take to the interview to prove my trip. Perhaps Yogi’s handbook and a few printed pages from this blog will hopefully surfice. After the interview I’ll look at flights to San Diego. I’m debating driving down to Bellingham, WA to post my re-supply boxes and then fly to San Diego from there. Still much to plan and do!

First steps to enter the US

When Ben at the hiking store asked me if I’d had my visa interview yet, I answered ‘no’ whilst thinking, ‘do I need an interview to get my visa?’

This sparked some well deserved panic and led me to delve into the black hole of information regarding US visa applications. I seemed to stumble across the correct links without too much trouble and quickly learned I needed to pay the fee, fill in an online form, upload a photo, and book an interview at the consulate in Melbourne.

Here are the links:

How to apply: http://www.ustraveldocs.com/au/au-niv-typeb1b2.asp

Visa wait times: http://travel.state.gov/visa/temp/wait/wait_4788.html?post=Melbourne&x=69&y=15

Paying for the visa: http://www.ustraveldocs.com/au/au-niv-paymentinfo.asp

Photo specs: http://www.travel.state.gov/visa/visaphotoreq/digitalimagereq/digitalimagereq_5327.html

The photo tool was my favourite exercise and I was extremely impressed they had such a tool to line up your self taken iPhone photograph and crop it to the exact size.

CROPPED-RP US visa photo 2

Photo specs: Colour (24 bits per pixel) in RGB color space – 2″ x 2″, jpeg less than or equal to 240 kB (kilobytes).

I’m pretty sure you can’t pay the fee without filling in the form (just reverse steps 1 and 2 in the instructions), so I started the process of filling in the online form when I was suddenly stumped on the third page by the question ‘Address whilst in the US’. I tried to skip the page but it wouldn’t allow me to. What am I meant to write here? Address: Pacific Crest Trail, various locations between Mexico and Canada’?

My mum’s already on the case of contacting some friends of friends who live in San Diego (probably since I told her you need to get to the border early in the morning to avoid bumping into any illegal immigrants at the start of the trail), so perhaps I can enter their address to help me move the process along. Then I just need to hope the representative at the consulate agrees that hiking the PCT is a good enough reason for staying in the US for 5-6 months!

Second purchase in the bag

I went camping store crazy today spending around two hours talking to Ben from Backpacking Light on Somerset Place in Melbourne. I was super keen arriving just after the store opened at 9am. We chatted gear and hiking stories over breakfast and coffee before going through my long shopping list. I’m going to ponder for another week on most of the items I saw but decided I couldn’t leave empty handed and purchased the lightest trekking poles I’ve ever seen. At around $170 you’d expect them to be good, and compared to the $30 ones I took up Kilimanjaro these feel light as a feather! I’ve got another shopping date at the store next Saturday where I might buy my pack, wind jacket, sleeping mat and a few other items pictured below that I looked at today…

Aarn pack back

First time I’ve ever seen this kind of pack. It counter balances weight on the front and back of you with all the weight carried on your hips.

Aarn pack front

Front pockets of the pack. It feels pretty good but looks downright bizarre. I’m not sold on this just yet.

NeoAir

This air mattress was pretty damn comfortable, even though the PCT bible says you WILL get a puncture. It folds up incredibly thin like a piece of paper. Quite impressed!

NeoAir side

Incredibly thick NeoAir mattress made by Thermarest.

Thermo Pouch

This crazy little pouch holds your ziplock bags of dehydrated food or oats etc, add water, close the bag, and it stews inside ready to eat straight from the bag… no more dirty pots.

Trekking poles

These poles fold in a ‘Z’ shape and are honestly so light you barely feel like you’re holding anything.

Wind jacket

Montane wind-proof jacket. Super thin and lightweight, water resistant. Pricey but probably worth it.

Heavens open on my PCT bible

Today was the first real day of rain in Melbourne all year and boy did it bucket down. Unlucky for me I was just leaving work when dark clouds literally rolled in from nowhere and enveloped the city. After a few warning drops the heavens opened and my measly umbrella didn’t stand a chance. It was only by the time I was completely saturated that I remembered I had a cover for my backpack and quickly took cover under a bus shelter alongside two British lads drinking white wine out of plastic cups.

With the cover on my pack I re-entered the onslaught only to realise that Yogi’s Handbook was in my backpack. It was too wet to check on it then and there, so I waited until I got home to assess the damage.

I’m sorry to say the book is so wet the cover started crumbling away in my hands. I have it propped up on a tissue box in my room in the hope that 1. it will dry (preferably by tomorrow morning) and 2. all the pages won’t be stuck together!!!

IMG_1904

The book is soaked from Echo Lake all the way down to the border of Mexico!

IMG_1903

The cover crumbling away.

The training wheels come off

IMG_1096

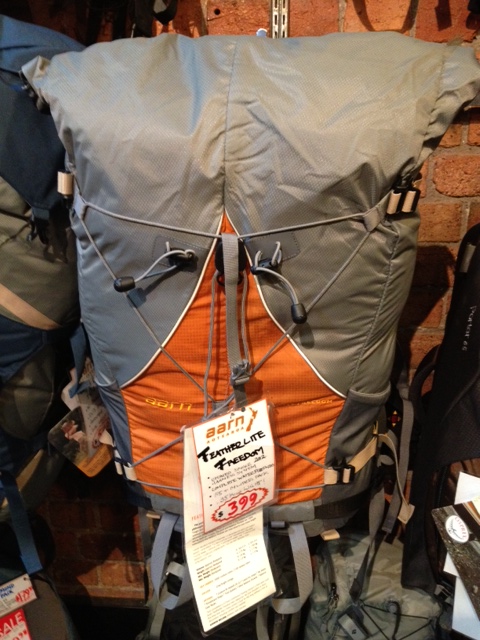
There was more strapped to my pack than inside it.

This past Australia Day weekend saw me setting off with trusty companions Katie and Amy for my first ever overnight hike. I have hiked and camped overnight before during my Kilimanjaro climb, but there we had porters carrying our food, tents and the majority of our gear. This time I had my tent, sleeping bag and mat, clothing, a third of the food and water to carry in my not so flashy 60L backpack. As I set off out the door you could tell I was a complete amateur.

IMG_1106

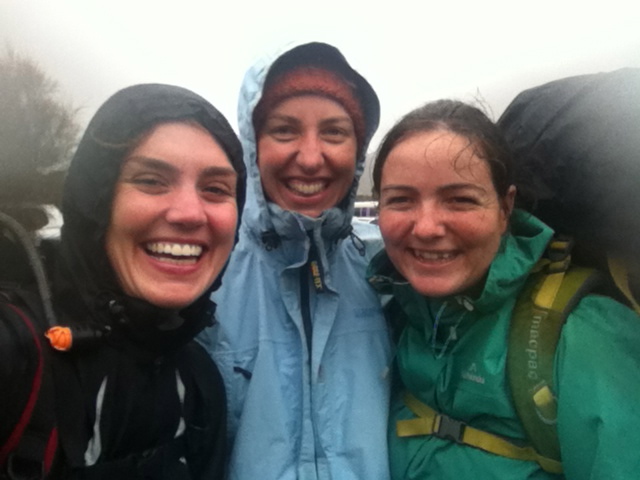
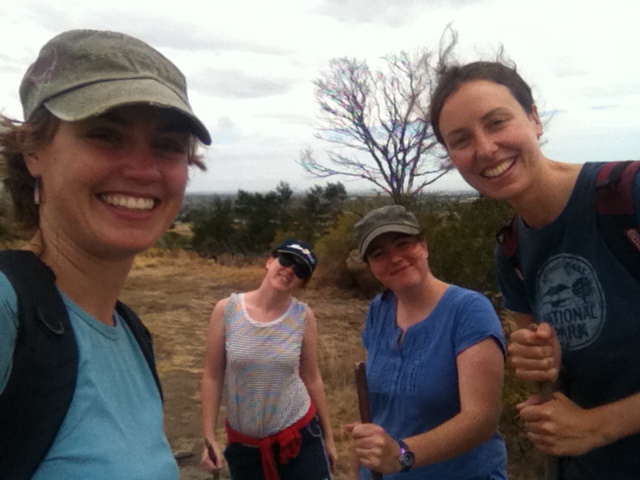
Still smiling as we set off into the rain.

We left about 2 hours after our designated latest time of departure which saw us leaving Coburg around 10am. After stopping for coffee, filling up the air in our tyres and having a short break for lunch, we found ourselves entering Wilsons Promontory around 3pm. Just as we had all managed to strap our overweight packs to our backs, the rain started coming down.

The first stretch of the hike was along the beach at Tidal River. It was at this point I started to wonder how on earth people move with such a gigantic amount of weight on their backs. It just didn’t feel right that my back was in agony so soon. We’d barely gone one kilometer.

IMG_1110

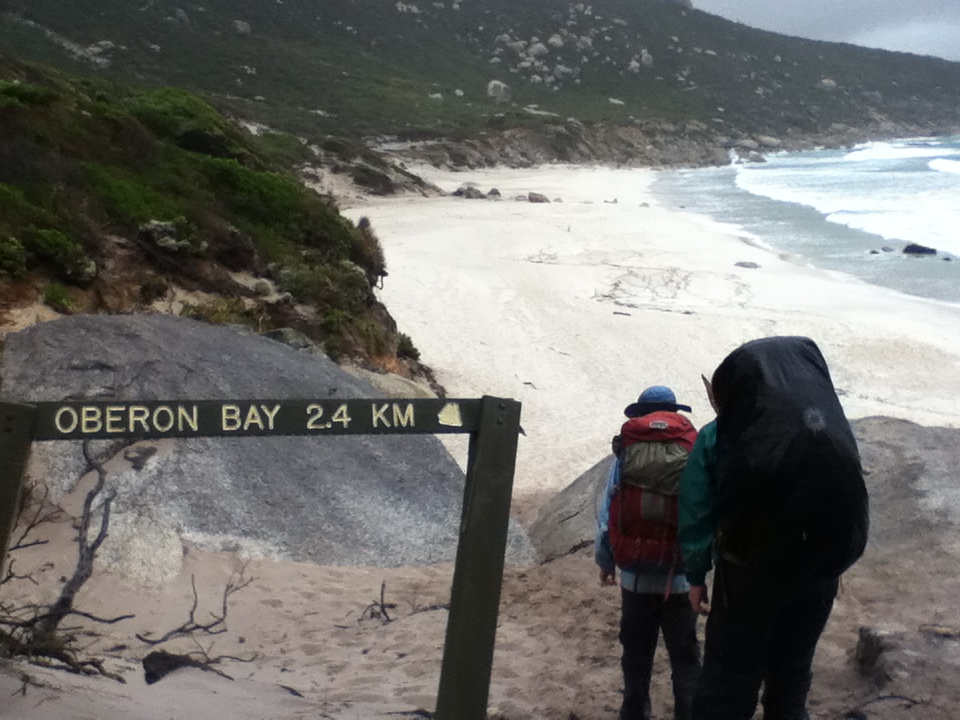
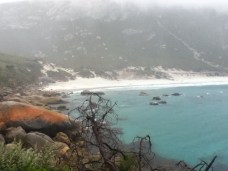
What should have been a glorious stroll down the beach.

IMG_1133

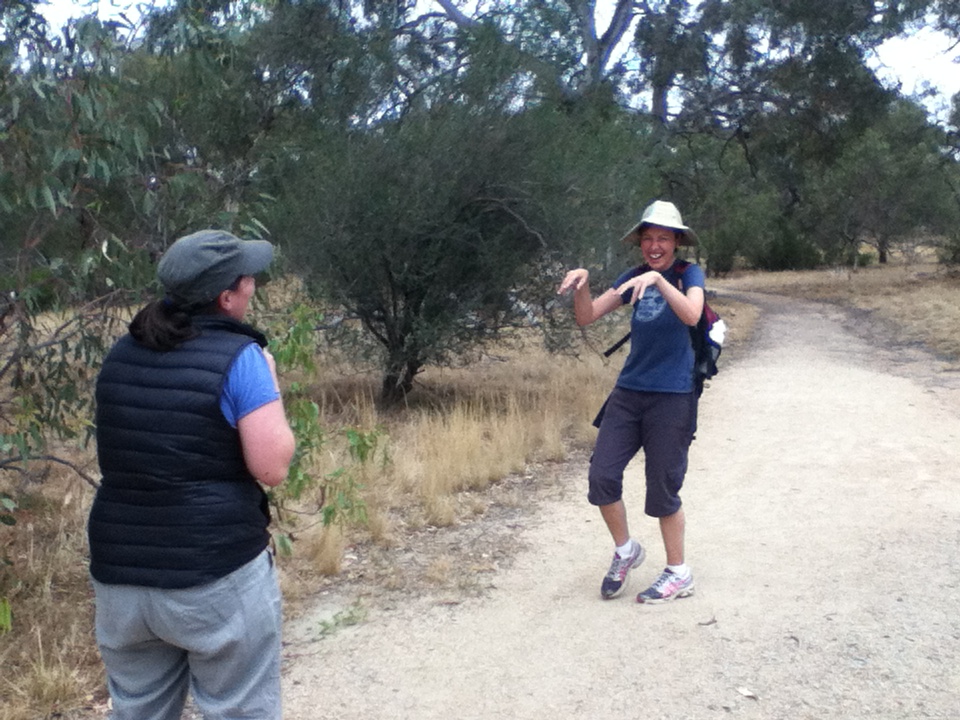
My moment of realisation.

After about an hour I decided something had to be done about my pack.

Before rearranging the contents both Katie and Amy took turns at carrying it. Seeing the pack on Katie’s back made me realise just how ridiculously it was packed.

Watching her walk with it hurt my back and the fact I could almost run wearing hers renewed my faith in my ability to walk the remaining distance to the campsite.

IMG_1125

The total distance from Tidal River to our campsite at Halfway Hut was 12.5km.

The rain continued all the way to the campsite. When we arrived at Halfway Hut our site had been taken by another hiker who we’d met along the trail. He’d told us previously that he hadn’t booked anywhere to stay, and as he’d taken the last spot we kindly asked him to relocate a few meters away, so that we could squish our two $30 tents next to one another in the space he’d taken with his one tent.

IMG_1138

The three of us keeping warm in a two man tent fit for one.

Despite the rain and the fact most of our belongings were drenched, Amy still managed to cook a delightful meal of red kidney beans and rice from inside the tent.

We had no space to store our packs in our tents and nowhere underneath the rain cover, so we simply left them outside in the rain all night, only to realise in the morning we could have stored then in the small hut which gave the campsite its name. Luckily the next day we simply took a daypack and left our gear behind to dry.

IMG_1179

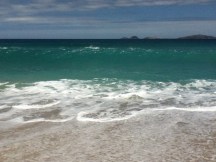
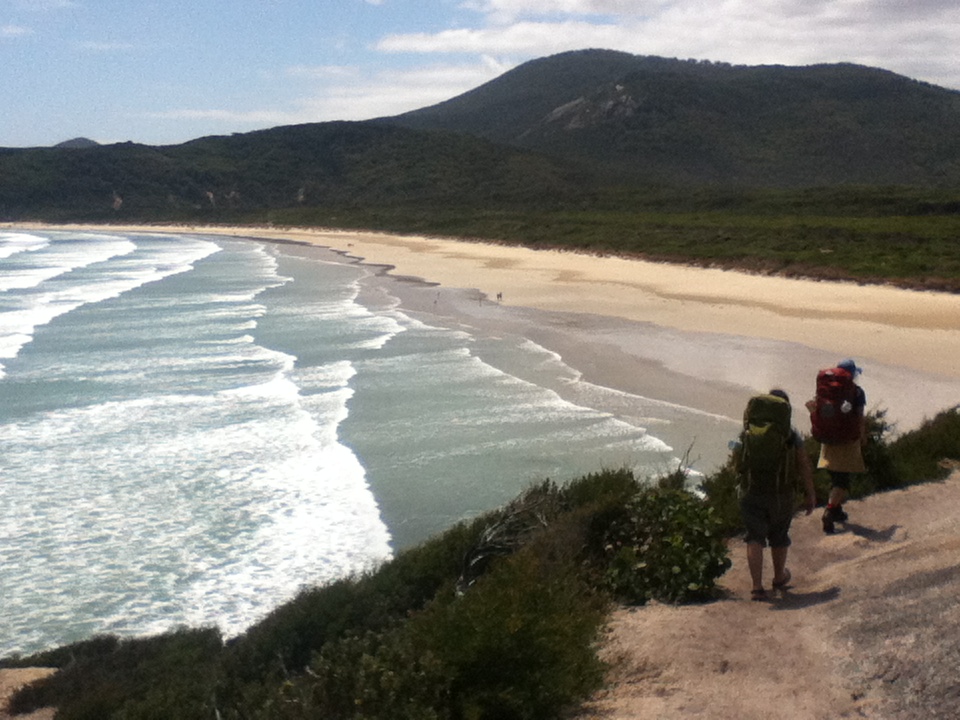
Sparkling blue water of the Prom.

Day 2 was a complete contrast to the previous day with blue skies and sunshine. We walked a total of 15km from Halfway Hut to Waterloo Bay and turned around not far beyond there when we realised we had almost run out of water. We spent the afternoon at the beach watching the spectacular bright blue waves crashing into the shore.

On the final day we packed up camp with the majority of out kit dry. We were all a little weary from two nights of restless sleep, but felt ready to tackle the hike back to Tidal River. The difference a little sun made was remarkable. The walk seemed ten times faster than our first day and one hundred times more enjoyable!

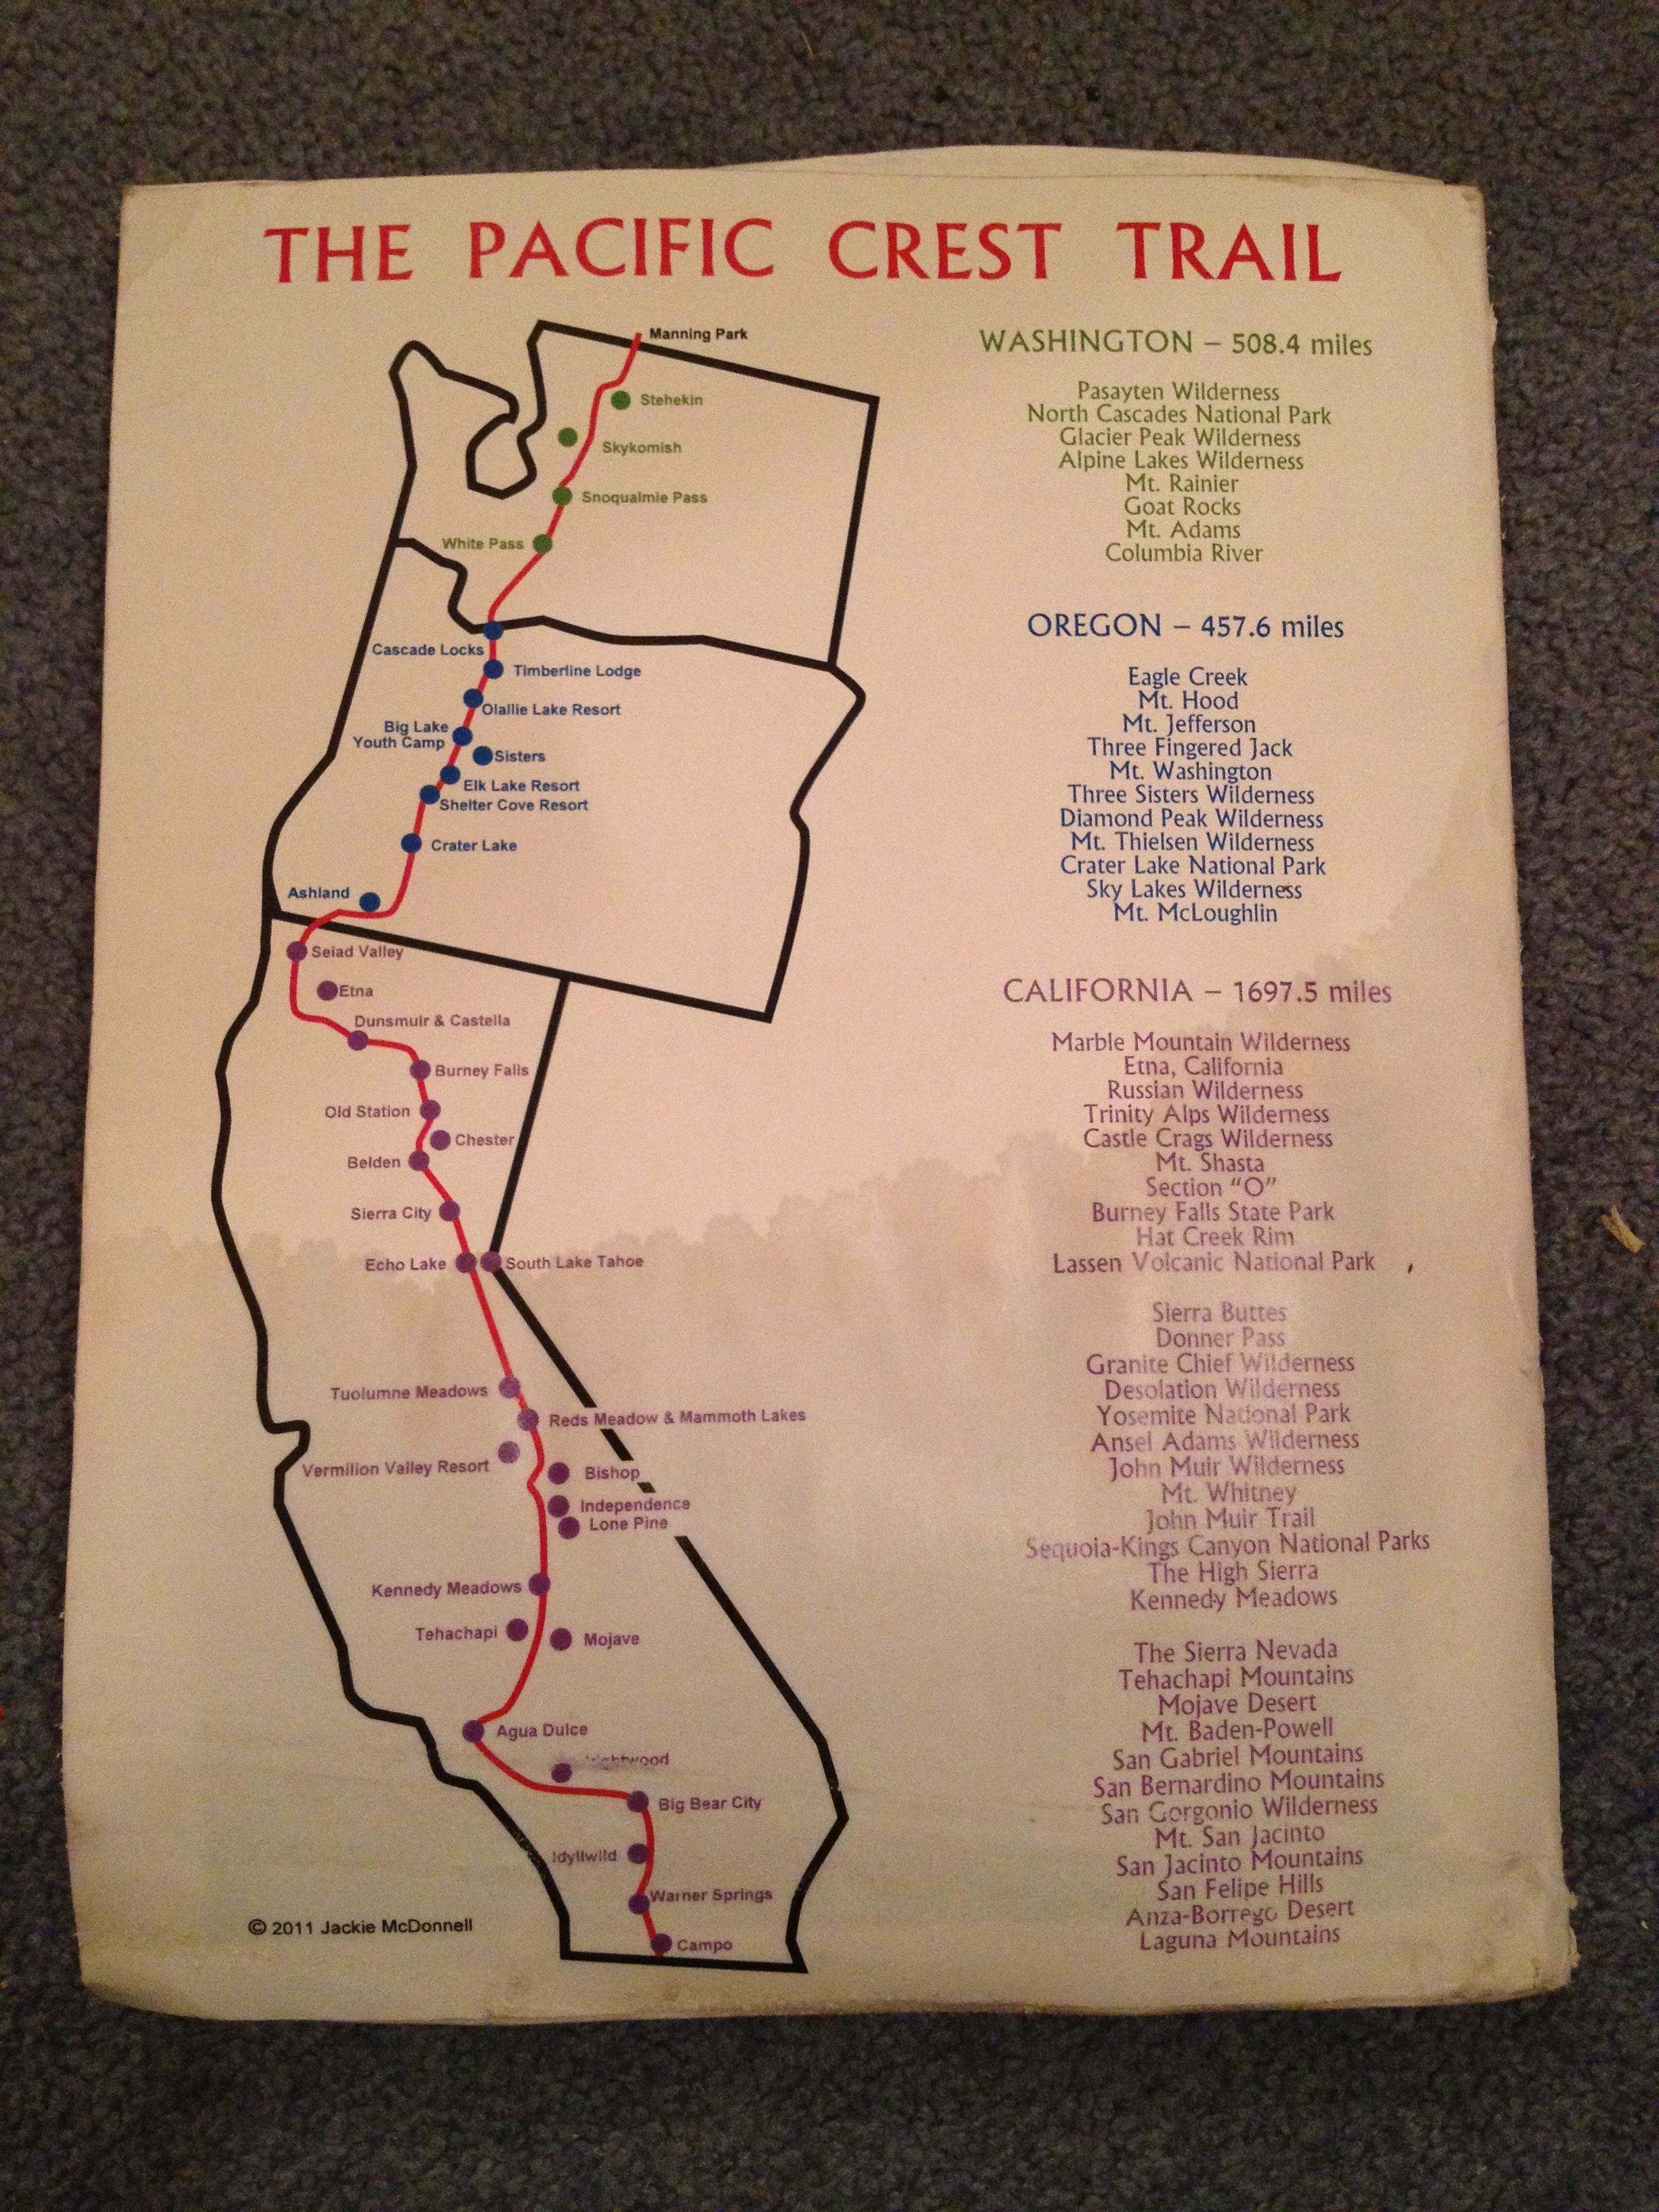
In total we hiked 40km over three days. We bumped into people who had hiked 39km in one day but we didn’t let that cloud our achievement. There’ll be plenty of days hiking 39kms on the PCT.

IMG_1120

Day 1

IMG_1188

Day 3

IMG_1115

Day 1

IMG_1194

Day 3

Sizing me up

With shoes ordered and on the way, it was time last night to order my backpack. I’ve had my eye on the ULA Catalyst since reading about the ULA brand in Wired’s blog. She envied the hikers who carried them on the PCT in 2011 and I was happy to see she’s got the ULA Circuit for her CDT hike.

When I clicked on the tab to order my pack I was faced with a number of options: torso size, hipbelt and shoulder strap curve shape. How do you measure your torso size? I Googled this question and watched a video from REI which told me the following:

  • Have a friend (or your mum and dad) locate the bony bump at the base of your neck, where the slope of your shoulder meets your neck. This is your 7th cervical (or C7) vertebra. Tilt your head forward to locate it more easily. This is the top of your torso length.
  • Place your hands on top of your hips. The location on your spine between the tops of your hip bones is the bottom of your torso length. With your hands comfortably on your hips, it is the location your thumbs point to.
  • Using a flexible tape measure, your friend should measure the distance between the C7 and an imaginary line drawn between your thumbs. You now should have your torso length.
Me torso measure

Mum and dad sizing up my torso length.

I discovered that my torso size is 19″ and my hipbelt size is 35.5″ which means I’m a medium size for both. The excitement of torso measuring soon spread throughout my family and everyone had a turn at discovering their torso length.

Kalya torso measure

My sister measured in a torso length of 20″ after discovering she has a pronounced C7 vertebra.

Then I was stumped by the shoulder strap – J curve or S curve? I realised I would have to do a bit more reading before making my selection.

Mystery shoe

I may have just purchased a pair of trail runners online… It’s probably the most ludicrous way to buy shoes for a 5 month hike but desperate times call for desperate measures and I NEED shoes for this weekend’s 3 day trek around Wilson’s Prom. There’s a 100 day money back guarantee with an entire page of fine print but I tell you what, I’m feeling confident about this one!

This is what the sexy mumma looks like…

119529-r_-_copy_11(3)

Saloman XR Crossmax Guidance

Nice eh?? Now as long as they arrive before the weekend and they fit then I’m in good shape! If I can successfully buy a shoe online then I’ll have less hesitation about ordering my pack and other gear the same way. Fingers crossed!!!

Dipping into the Gorge

Our weekly hike took us to Werribee Gorge State Park for what we expected to be a 10km hike. It felt like 10km in the heat of the day but my RunKeeper said we only did 7km by the time we were huffing and puffing back at the car park. The walk was a lot more challenging than last week; there were some steep inclines, lots of rocks to scramble over, and a section where we needed to hold onto a rope to get around the cliff face. I realised how little grip my poor worn out sneakers have and how desperate I am to get new shoes.

Werribee Gorge

Amy and Katie walking through the Gorge

My favourite part of the hike was dipping into the Werribee River to cool off. Katie was attacked by slimy reeds when she ventured too far down the river, but despite a little algae the water was devine. I could have spent the entire day floating there.

Werribee Gorge swim

Katie taking an extra dip!

I took a heavier day pack today which made me realise that carrying the weight of my gear, food and water is going to be a real challenge. We’ve decided to do a three day hike next weekend at Wilson’s Promontory which should really test this theory, although I will need to borrow most of my gear and take an old backpack until I make some serious PCT gear decisions.

The Diva in me!

I’m happy to announce I have just made my first official PCT purchase today. My lack of equipment has started getting the better of me, and whilst I’m still debating purchasing most of my equipment in the US for half the price than in Oz, there’s a few items I would like to secure before I depart – shoes and a Diva Cup.

The delicate subject of menstruation whilst on the trail should not be overlooked, and if you’re a woman, it’s likely at the forefront of your personal hygiene planning.

Even though women from Yogi’s handbook might say they won’t get heavy periods or it might not visit at all, I know my body better. It’ll be there, rain, hail or walking over 4,000km – guaranteed.

So I’ve purchased a Diva Cup Model 1 – a silicone menstrual cup eliminating the need for pads and tampons along the trail. It’s advised to test these sorts of things before heading out on the trail, hence why I bit the bullet and finally purchased something I can’t refund this time!

divacup6_large

Back on the beaten track

On Saturday Josie, Katie, Amy and I reunited for another walk at Woodlands Historic Park just north of Melbourne’s Tullamarine Airport. This location was my pick for its close proximity to Melbourne, length of walk and grade of track, although the girls were not overly impressed to begin with. It wasn’t the most challenging of hikes, but the 10kms we walked provided us with views of the city from the top of Gellibrand Hill and exposure to a troop of Kangaroos, including a very intimidating male Roo who towered well above our heads.

Amy the Roo

Amy the Roo.

Gellibrand Hill trail

Standard sign pose.


Though we were all experiencing hunger pains and slight headaches caused by our lackadaisical packing of water, we reached the top of Gellibrand Hill in 1:18:00 hours. I was missing my walking stick from Jervis Bay but we found some new additions (not quite the standard of my previous one). I carried Josie’s kettlebell in my backpack for additional weight but will soon need to purchase my actual PCT pack and start filling it to between 15-20kg for training.

The four girls

Me, Josie, Katie and Amy.